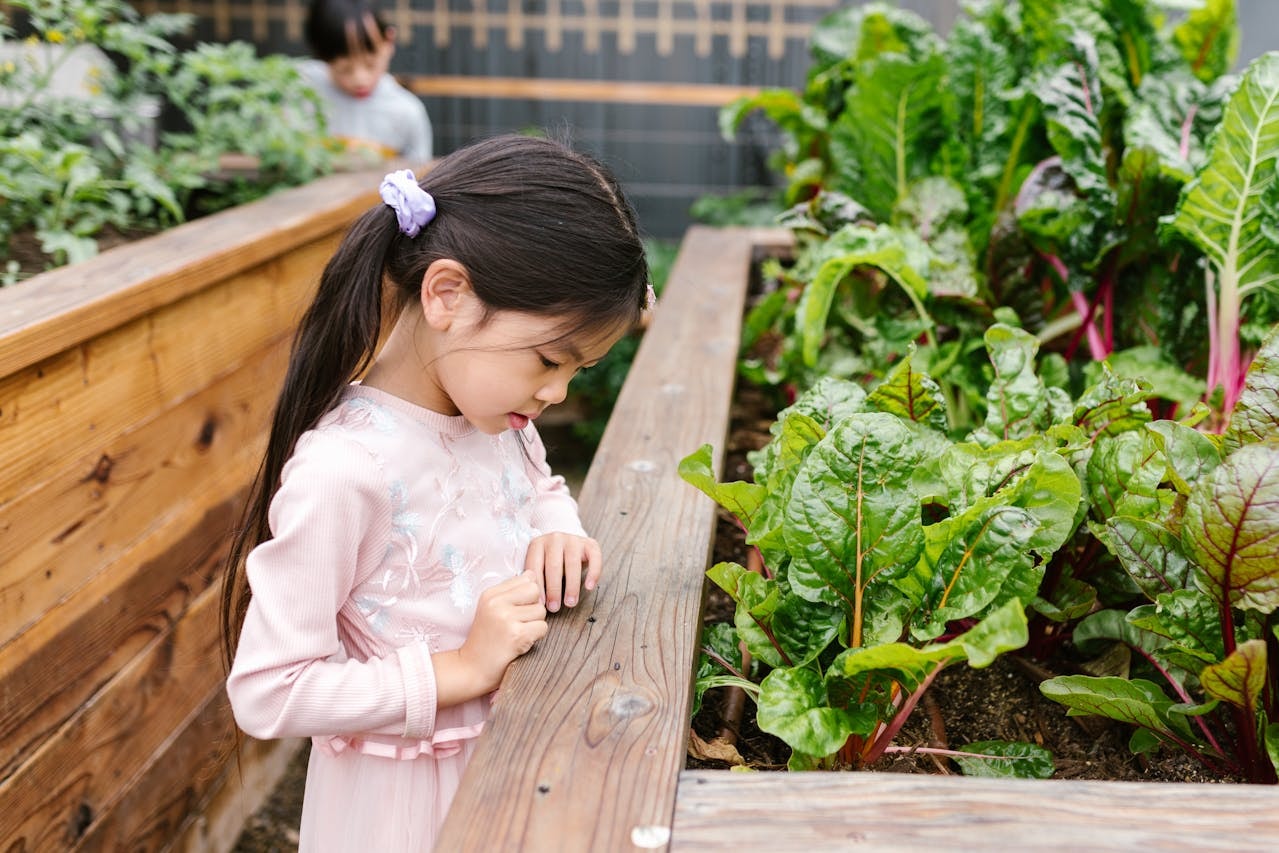
The Top 10 Easy to Grow Vegetables for Beginning Gardeners
The Top 10 Easy to Grow Vegetables for Beginning Gardeners
Cool season vegetables (Grown in spring or fall
PEAS
LEAF LETTUCE
RADISH
BEETS
SWISS CHARD
ONIONS
KALE
Warm season vegetables (Grown in summer)
GREEN BEANS
TOMATOES
ZUCCHINI
Growing fresh vegetables
I have chosen these vegetables because they are among the easiest vegetables to grow and they are popular vegetables. (Turnips are easy to grow, too, but fewer people like them.) They generally don't have too many pests or diseases, although all of them can have problems under the right (wrong?) conditions. They don't take a lot of work beyond the usual vegetable garden chores of planting, weeding, watering, and harvesting, and they can be grown in a relatively small space. I have included lots of detail for the inexperienced gardener who wants to grow their own vegetables for the first time.
Locate your vegetable garden where the plants will get at least 6 hours of sunlight a day and where it will be easy to water during dry periods, whether on your patio, a rooftop, a raised bed or a bed in the soil. The garden doesn't even have to be a single location. I scatter my vegetables throughout my yard, wherever enough sunlight penetrates between the fruit trees.
Vegetables need at least 6 inches of good, loose soil, and some need more. The soil should be fertile with plenty of organic matter. If you are creating an in-ground vegetable garden, add plenty of compost. Fill raised beds or pots with a combination of compost and topsoil. Make sure it is moist but not muddy before you begin to plant because these plants do best in well drained soil.
Early Spring Vegetables
These are easy-to-grow vegetables that can be planted and harvested in the spring.
Peas
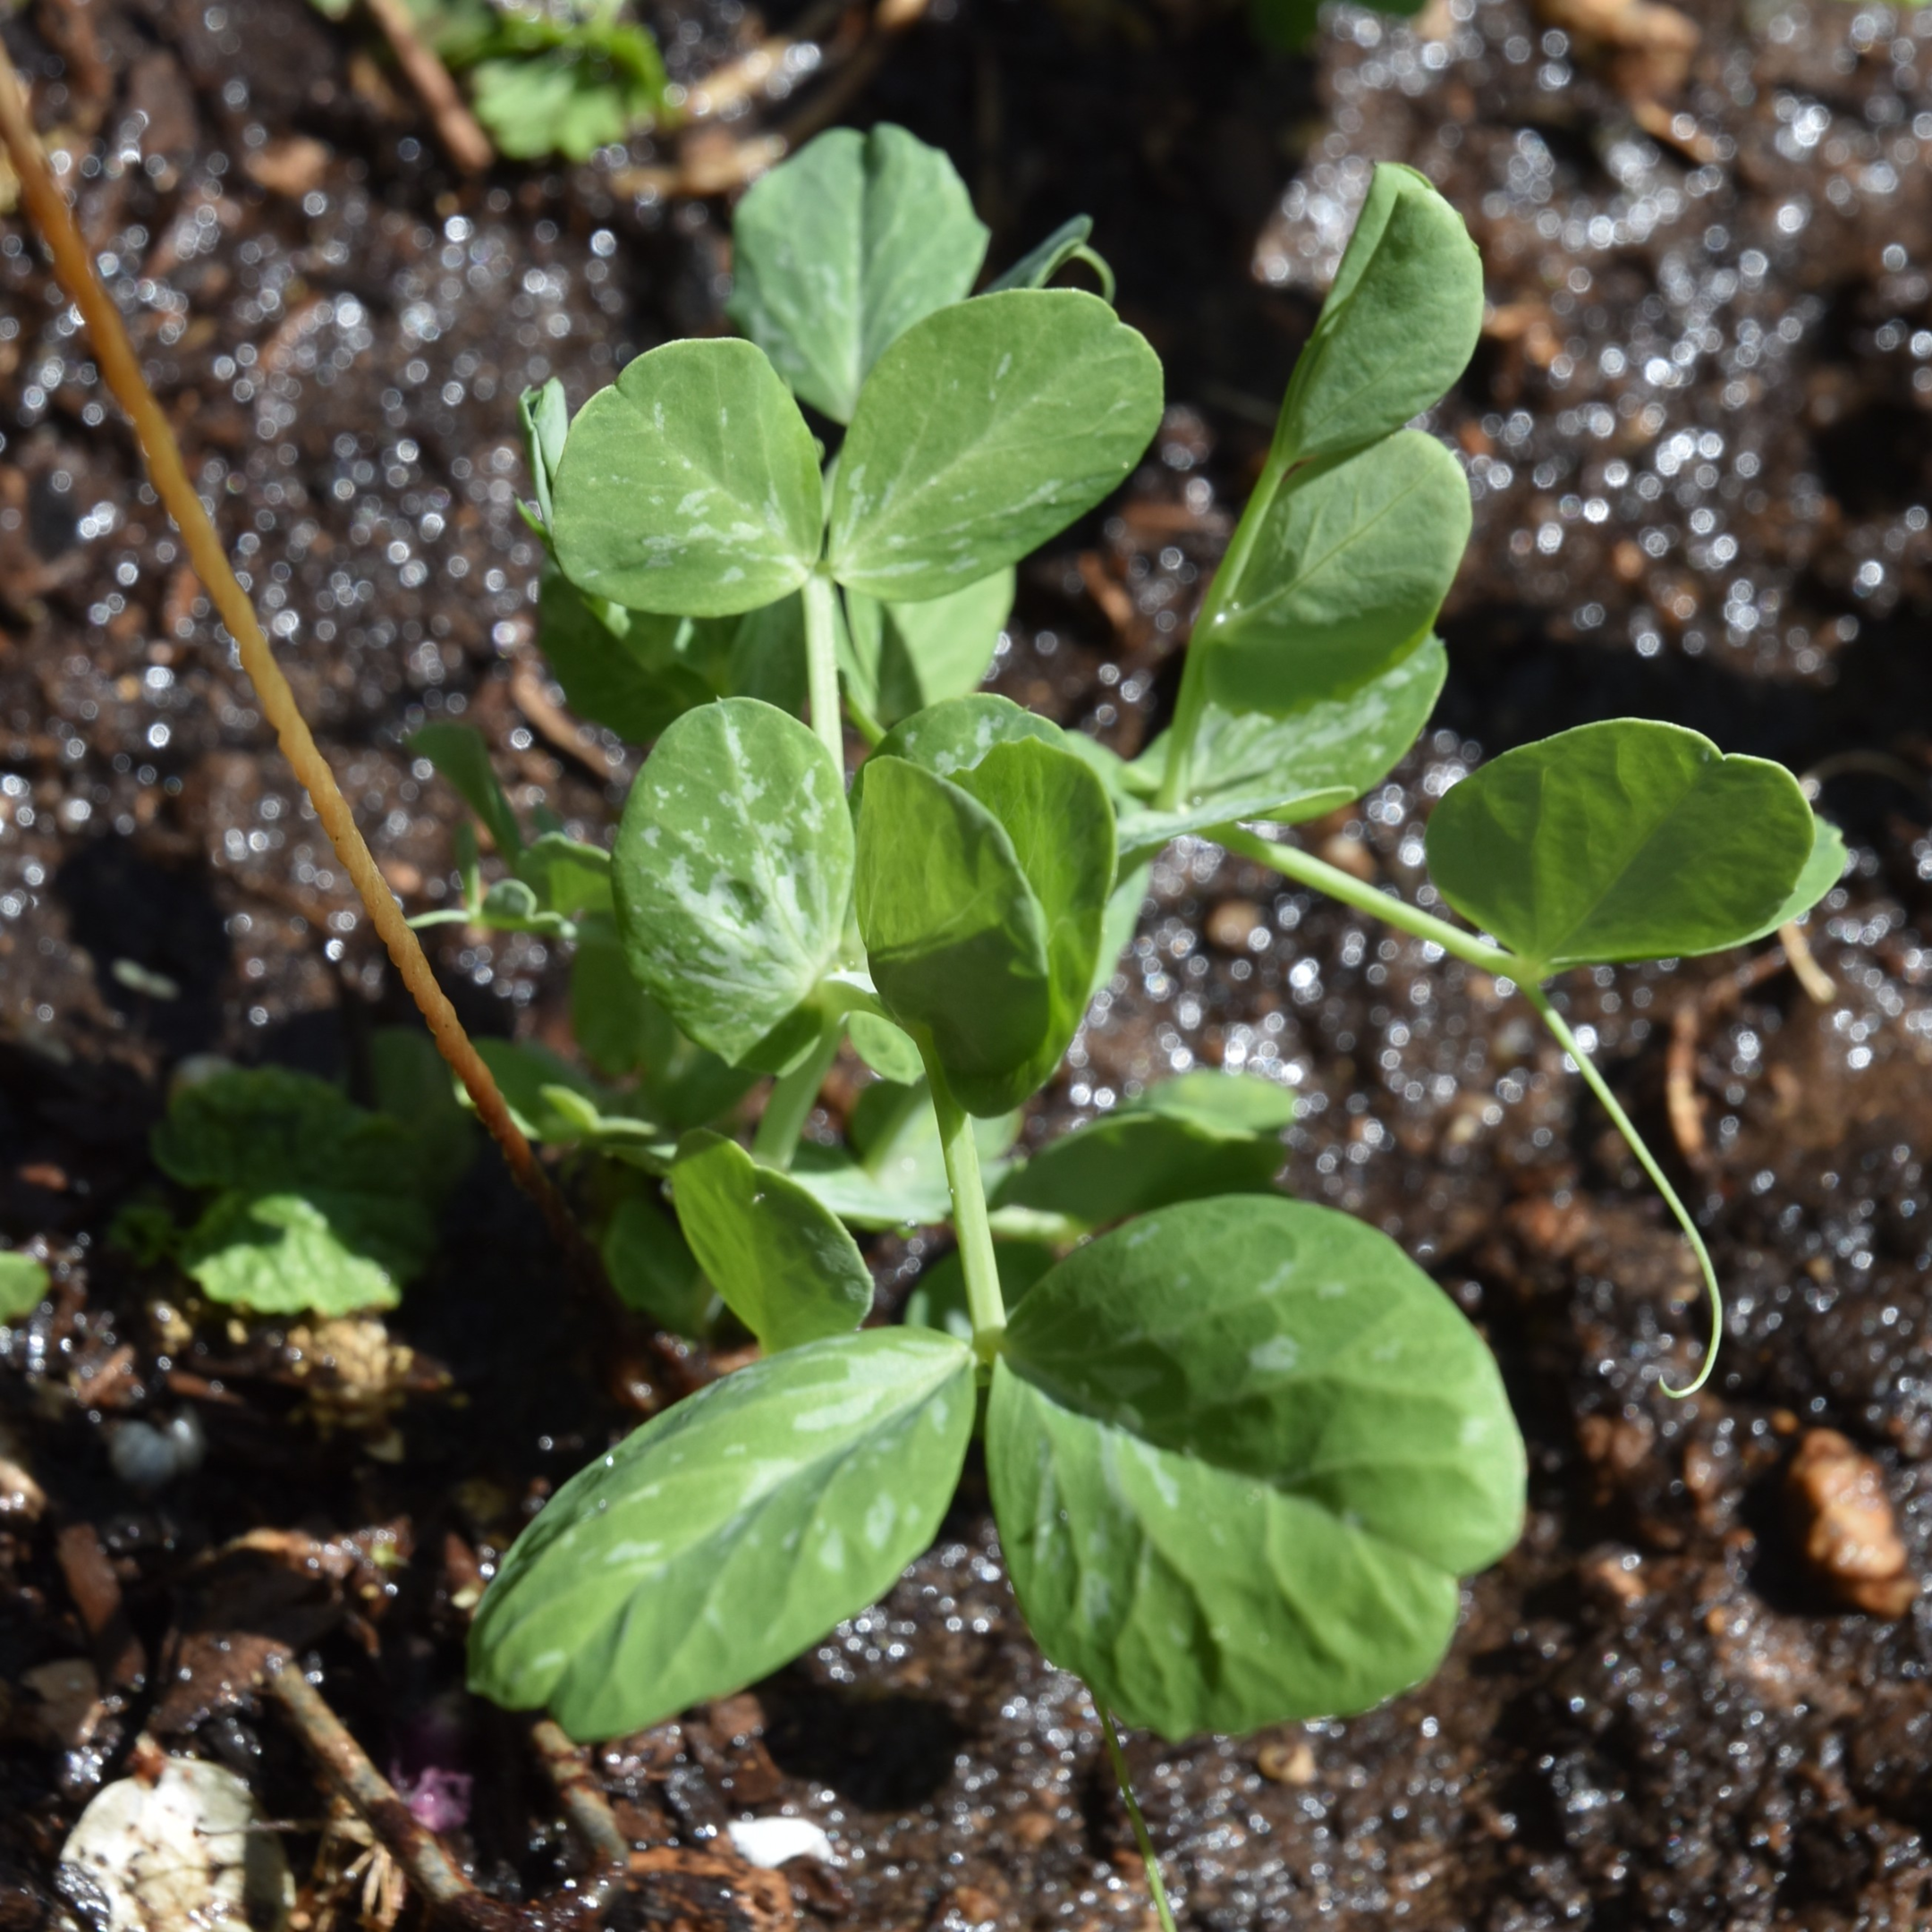
The first vegetable I plant in early spring is peas. Peas can stand some light frost and thrive in cooler weather. Before you plant peas, daytime temperatures should be above 40 degrees Fahrenheit, and nighttime temperatures should be above 28 degrees. You can plant edible pod peas or regular(shelled) garden peas. Peas grow on a vine and will need some support. This can be string, a length of chicken wire, or a more formal trellis.
Plan on planting 10 to 15 pea seeds per person. Soak the pea seeds overnight and press them into the soil about two inches apart and half an inch to an inch deep. Legumes like peas and beans team up with bacteria to pull nitrogen into the soil and turn it into a form that plants can use. If you are growing in soil where legumes have not been grown before, use an inoculant to make sure the bacteria is available so the peas can fix nitrogen. You should be able to find innoculant at your garden center or home improvement store.
The seeds should sprout in seven to fourteen days. Gently guide them to the support when they are about 6 inches tall if they have not found it and attached themselves.
The peas will flower and start producing peas in the second month. Harvest edible pod peas like snow peas or snap peas when they have reached a mature size but are still bright green and are not lumpy. They start turning lumpy when they produce pea seeds inside the pods. If you are growing shelled peas, wait until the pods are a duller green and you can feel the peas inside them. Don't wait until the pods turn yellow, or you will have dried peas. To harvest the peas, hold the vine with one hand so you don't pull it off the support or break it and pull the peas off with the other hand.
Leaf Lettuce
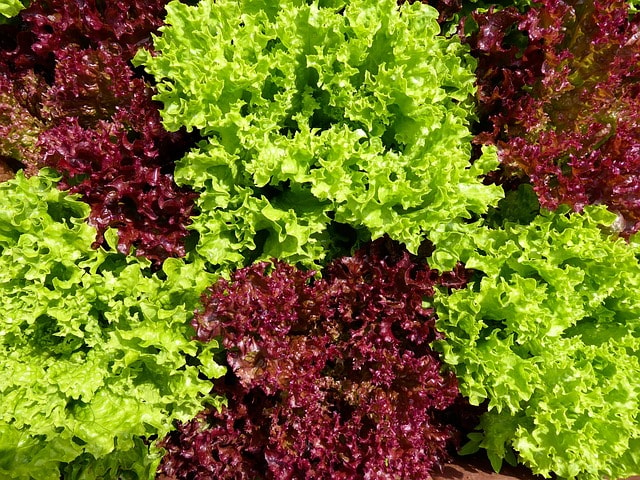
Loose-leaf varieties of lettuce are a bit easier to grow than head lettuce, and you can harvest it continuously for a more extended period. The number of plants depends on how popular salads are in your family. I plant as much as I possibly can.
Lettuce can be planted when daytime temperatures are consistently above 50 degrees Fahrenheit. Lettuce seeds require light to germinate, so sow seeds thinly on top of the soil and press them in. When they sprout, if the plants are closer together than 6 inches, wait until they are about 2 inches tall, then pull the extra plants and use them as baby leafy greens.
As the plants grow, they will produce a rosette of leaves. When there are more than eight leaves, you can pull or cut the outer leaves for your salads. You can harvest baby greens or mature leaves about three weeks after the plants germinate until the temperature is consistently above 75 degrees. That's only a few weeks in my garden, but it stays cool longer in some places.
Radishes
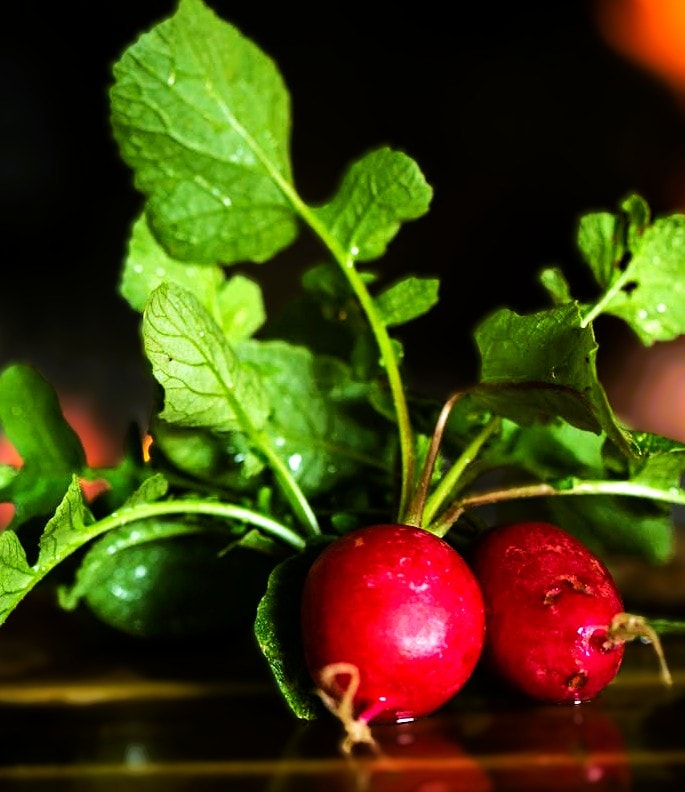
Radishes have the fastest growing seasons of any vegetable and are the easiest to grow. You can plant them any time the temperature is between 40 and 80 degrees, and they are ready to harvest in 25 to 35 days—plant 10 to 15 per person. Repeated plantings will provide a longer supply of radishes.
While we consider radishes round, red, and about 1/2 to 1 inch in diameter, there are many radish varieties, some up to three inches in diameter and others nine or more inches long and carrot-shaped. They can be red, white, yellow, pink, or black. These instructions are just for the more common radishes used in the United States.
Plant seeds one to two inches apart, about half an inch deep. They will sprout in 3 to 10 days. The radish is a swollen root that can be harvested whenever it is more than half an inch in diameter. Generally, you can easily pull the radish from the ground. If you have particularly heavy soil, ensure it is wet when you pull the radishes or dig them with a trowel.
Spring to summer vegetables.
Some vegetables are planted in the spring but have a slightly longer growing season, so they stay in the ground into summer.
Beets
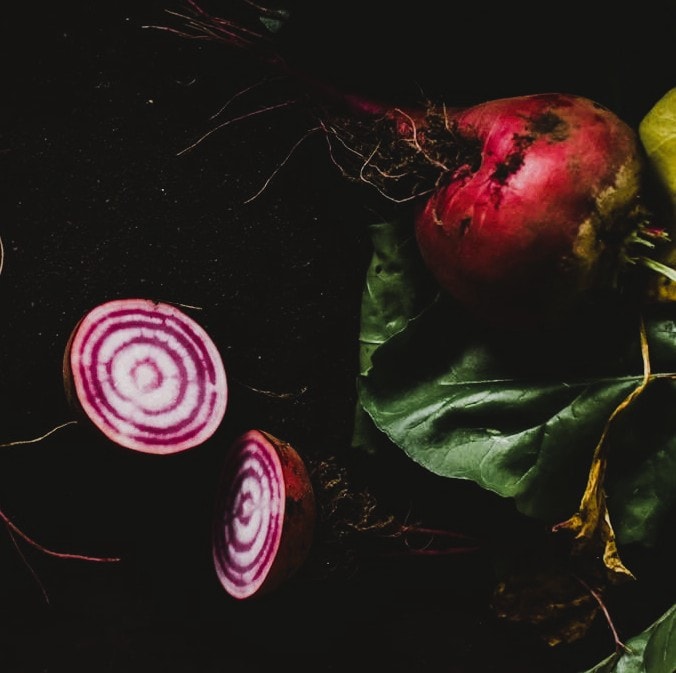
Sugar beets, red beets, and Swiss Chard are all the same species and subspecies but in different groups. The most common beet of the Conditiva group, or table beets, in the United States is red, but it comes in various shades and colors, from purple to yellow. All the colors of beets are nutritious and make excellent pickled beets, which are my favorite.
Beets are a cool-season crop, but the seeds don't germinate until the soil is above 50 degrees Fahrenheit, so they are planted a little later than peas, lettuce and radishes. Seeds can take from 5 to 12 days to sprout. They will grow more quickly if you soak them overnight in water.
The seed is a compound seed, so several plants can sprout when you plant one seed. When this happens, choose the more vigorous plant. When the extra plants are two to three inches tall, pull them or pinch all the leaves off and use them in salads.
Beets are one of the few vegetables that will do well in partial shade. They will be productive with only 3 hours of sun daily, so you can plant them in garden beds where some other vegetables might not grow.
Within 50 to 70 days, the beet will have formed a swollen root underground. It can be pulled or left in the ground for a while after that, but generally, if planted in spring and left in the ground past the middle of the summer, they will get woody and bitter.
Beets can also be planted in late summer to fall, about two months before the average first freeze. They will grow slowly as the weather cools and are less likely to get woody. Be sure to harvest them before the ground freezes.
Swiss Chard
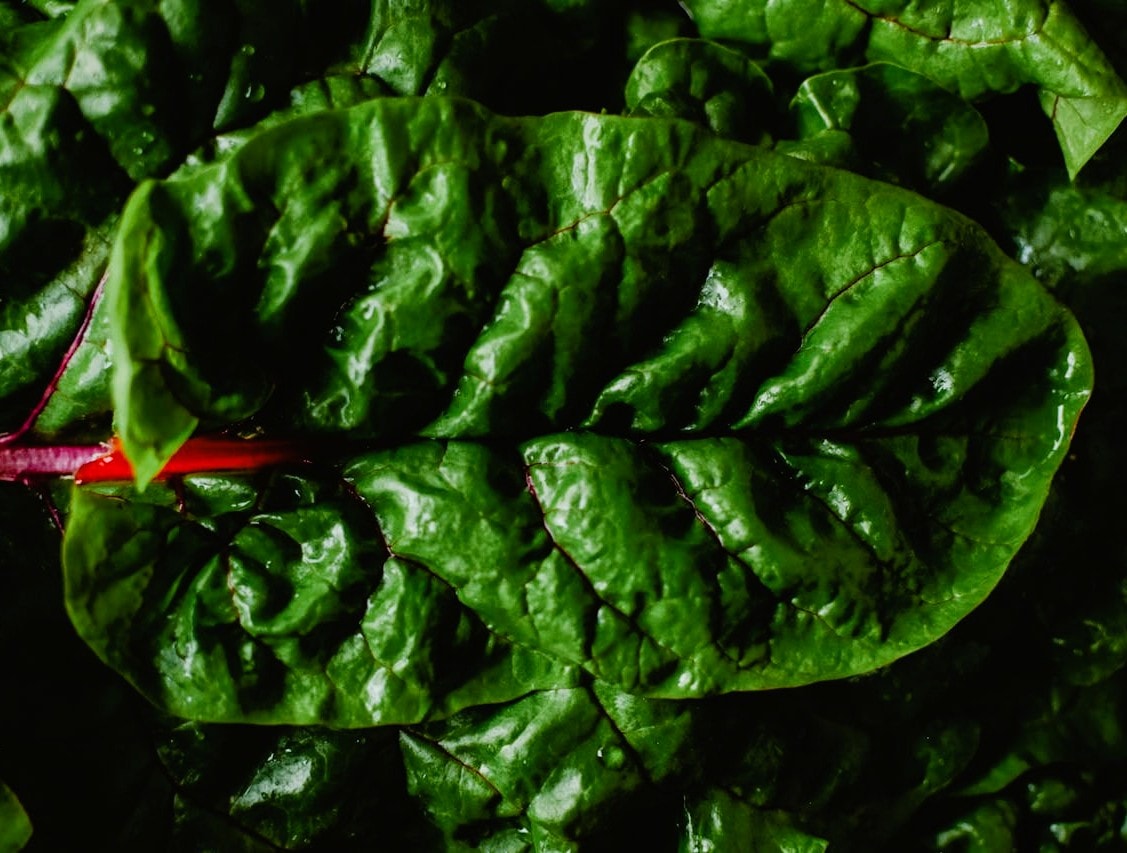
As mentioned earlier, Swiss chard and beets are the same species and subspecies. We just eat different parts of the plant. Swiss chard is a versatile plant planted in the spring but can survive summer heat and produce into the fall. I use Swiss chard in many recipes that call for spinach because it grows much better in my climate.
Soak the seed overnight, and plant when the soil temperature is above 50 degrees. One or more plants will come up in 5 to 12 days. (Where have we heard this before?) Pluck the extra plants for leafy greens and let the strongest one grow,
We harvest the leaves of Swiss chard rather than the roots. Cut the outer leaves as they mature. If leaf miners make their trails through the outer leaves, remove those leaves and put them in the compost. You will still be able to harvest the next layer of leaves. That is one of the reasons Swiss chard is on this list. It is one of the toughest leafy green plant.
In the summer, you can harvest the whole plant several inches above the ground, and new leaves will continue to grow for a fall crop. In places where winters are not severe, Swiss chard will survive the winter and come back in the spring.
Swiss chard is a biennial, meaning that in the second year, it will go to seed. I planted Swiss chard once about ten years ago. Since then, I have let it go to seed, removed plants that come up where I don't want them, and kept a few to harvest and freeze through the summer.
Onions
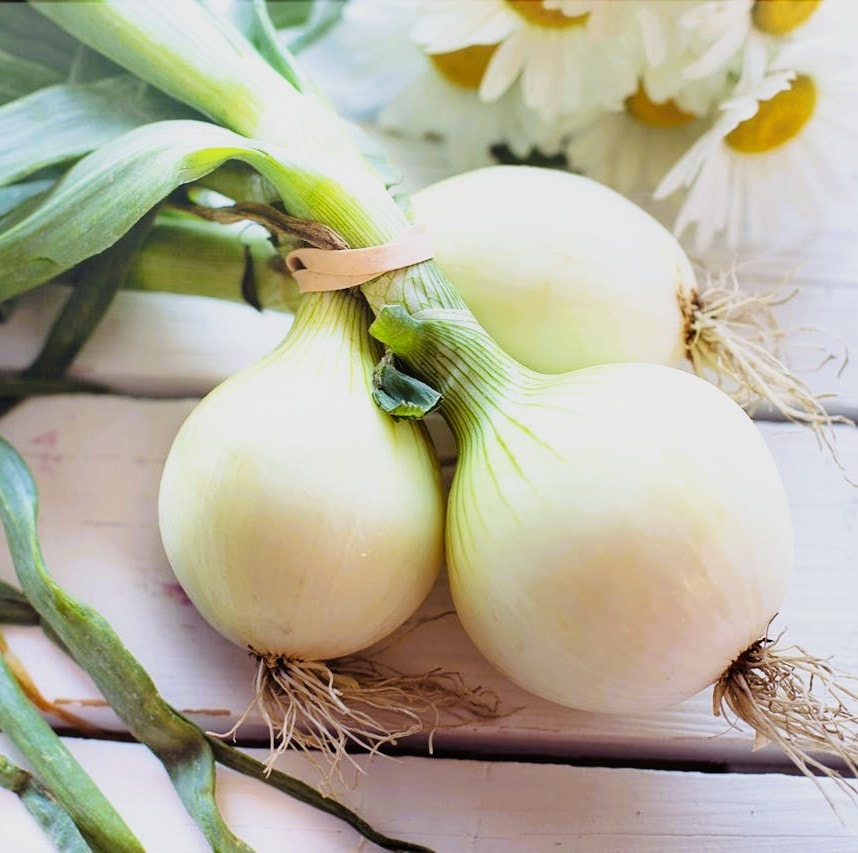
Onions should be planted as early as possible but are ready to harvest in the summer. They can be started from seeds, set, which are small bulbs that were started from seeds the previous year, or plants. It's best to discuss onions in three categories: short, intermediate, and long days. Onions grow only leaves until the day length triggers them to form bulbs. In general, the more leaves they have the larger the bulb will be.
Short-day onions start producing bulbs when the day lasts 10 to 12 hours. These onions are grown in the south, where they can be planted in the winter and get plenty of growth before the beginning of spring, when the days are 12 hours long. They then begin to form bulbs. The leaves continue growing, although some older ones may wilt. Bulb formation takes around 60 days, meaning the onions are ready to harvest in May or early June.
Intermediate day-length onions start forming bulbs when the day length is 12 to 14 hours. This happens in mid-spring at the latitudes between 32 and 42 degrees, where intermediate day-length onions are grown. Onion seeds can be planted indoors in January, transplanted outside in March, and have good growth by the end of April, when bulbing begins. They are ready for harvest in early to mid-summer.
Long-day onions are planted in the north. They are planted in the spring as soon as the soil can be worked, begin bulbing when days are 14 to 16 hours long, which happens in late May in Duluth, Minnesota, and are ready to harvest in late summer or early fall.
The geographic locations where the various day-length onions can be grown successfully overlap by several degrees of latitude, and not all onions have the exact daylenght requirements. For example, one long day onion variety will not start forming bulbs until the day is 15 1/2 hours long, while another will form bulbs in 14-hour days.
Onions planted from seed can be harvested as green onions as they grow. If you planted onions from sets, they may send up a flower stalk, a round stalk from the middle of the bulb. Cut this stalk off to get the best onion quality.
Onions should be harvested when the leaves bend over and become limp around the bulb's head. Loosen the soil around the onions with a pitchfork, pull the onions, and lay them out in rows to cure.
When the leaves are completely dry and the onion has a papery skin on the outside, store it in a box or basket in a cool, dark location. Yellow onions tend to last longer in storage than red or white onions.
Kale
So we have had one plant that can be planted in the spring or fall and two plants that grow from spring through fall. Now, I will introduce one best planted in summer for a fall harvest. Kale can be planted in the spring when you plant your lettuce, and some varieties can survive the summer and keep producing into fall, but the flavor improves after a light frost. So, unless you feel strongly about having kale available all the time, plant it in the fall.
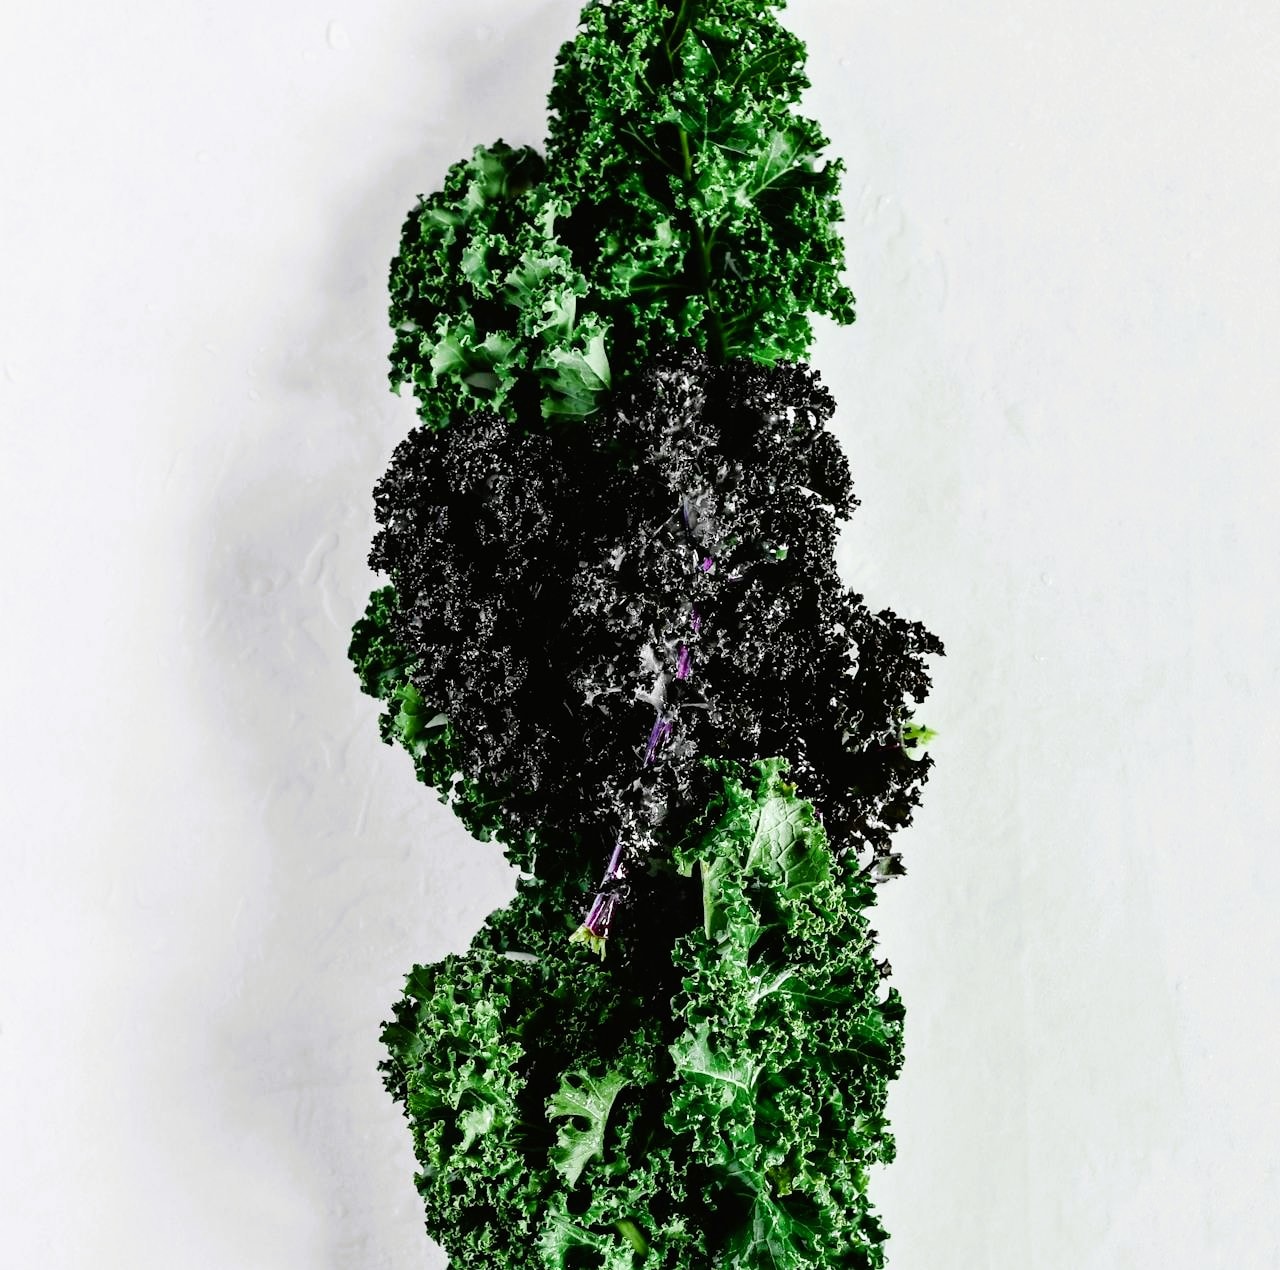
There are many different varieties of kale. All of them are used for their leaves, but some have a rosette of leaves, while others have a stalk on which the leaves grow. Some are more cold-hardy than others, and some are more tender after exposure to high temperatures.
Lancinato kale is one of the most heat-tolerant, and dwarf Siberian is one of the most cold-tolerant. I have had lancinato kale that produced all summer, although the summer leaves were a bit tough, and it survived the winter here in zone 7. If you live in a truly hot place, you might want to grow collards instead of kale.
You can start kale indoors about ten weeks before your last frost date and set the plants out four weeks before your last frost date. The seeds will germinate at temperatures from 45 degrees to 85 degrees. Mature leaves will be ready to harvest in 55 to 75 days. You can also harvest younger, more tender leaves. For fall planting, start it indoors or in the garden three months before your first frost date to establish it well before freezing weather.
Warm Season Vegetables
While some of the vegetables you planted in the spring will still be in the garden in the summer, some vegetables can only be planted when the danger of frost has passed. These are some of the most popular and prolific warm season vegetables.
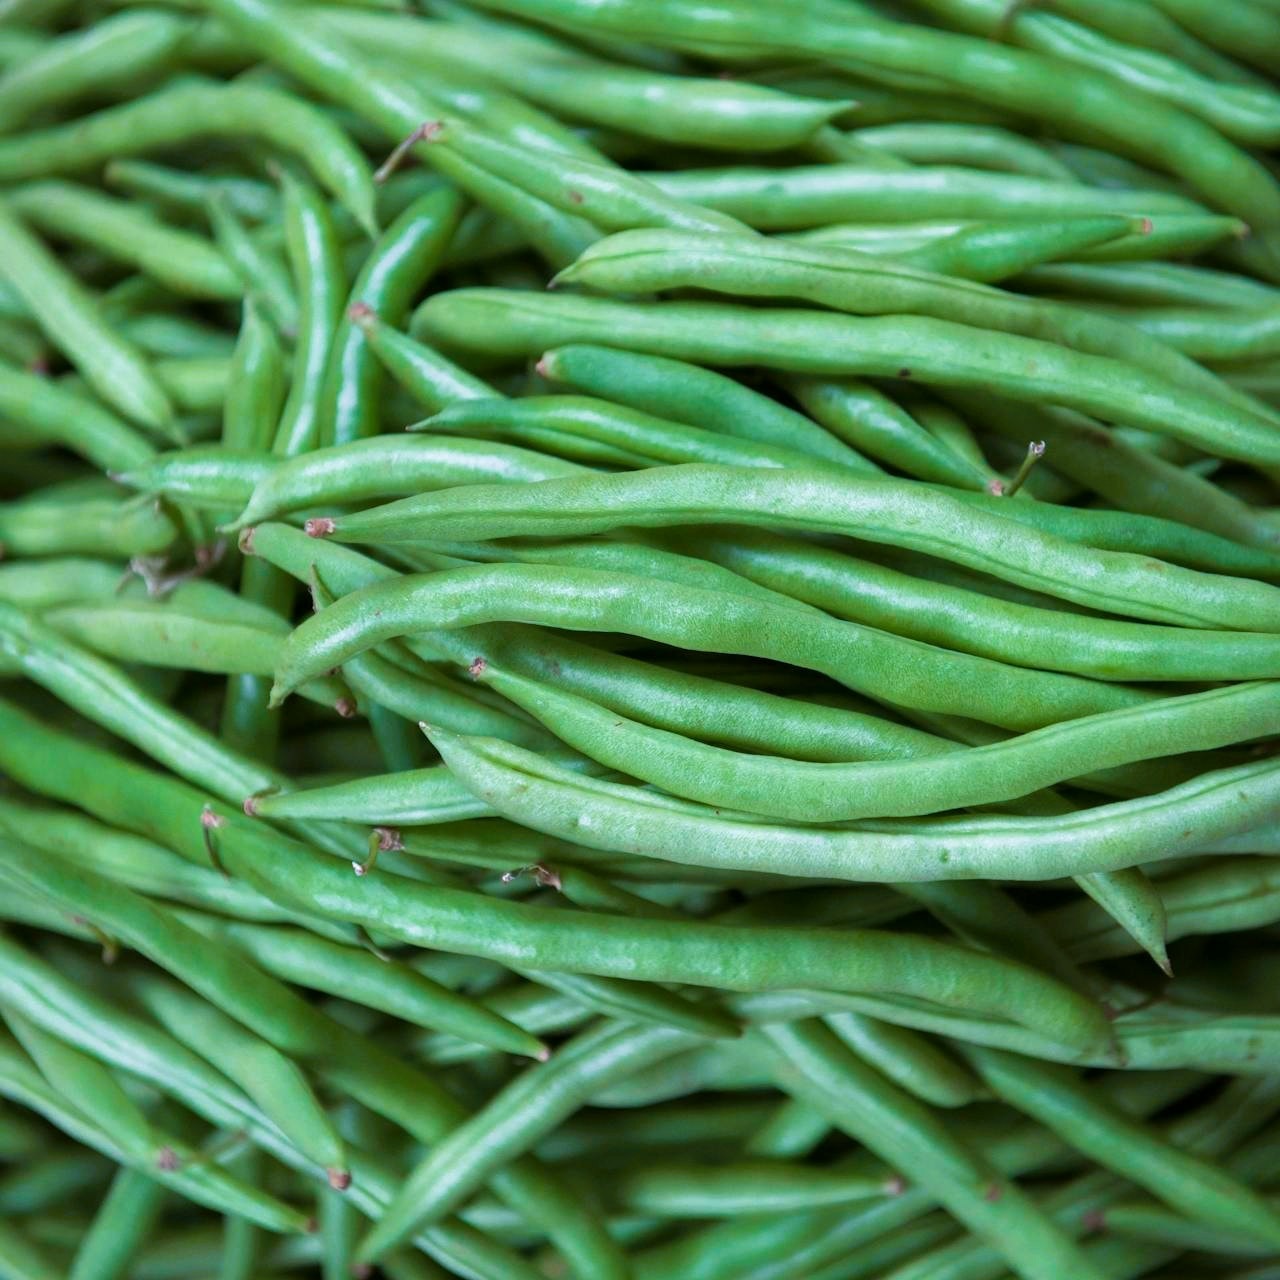
Green Beans
The first summer vegetable to be planted is green beans. Bush beans grow and produce all their beans at approximately the same time. Plant bush beans if you want to harvest and can or freeze your beans over a few weeks. If you're hoping to harvest beans over a longer time and have fresh beans for meals from midsummer to frost, plant pole beans, which keep growing and producing.
To plant your beans, soak the seeds in water overnight, then press them into the soil about half an inch deep. Beans are another legume, like peas, so use an inoculant if you have not grown legumes in the soil where you plant the beans.
You should have beans on your plant within 50 to 60 days. The beans should be harvested when they are long and round but before they turn lumpy. When the seeds are mature inside the pod, the bean will not be very tender. When you are ready to cook or freeze the beans, snap off both ends. If you have string beans, the stem end will come off and be attached to a long fiber or string. Pull that off the length of the bean. If you have stringless beans, they will not have those fibrous strings.
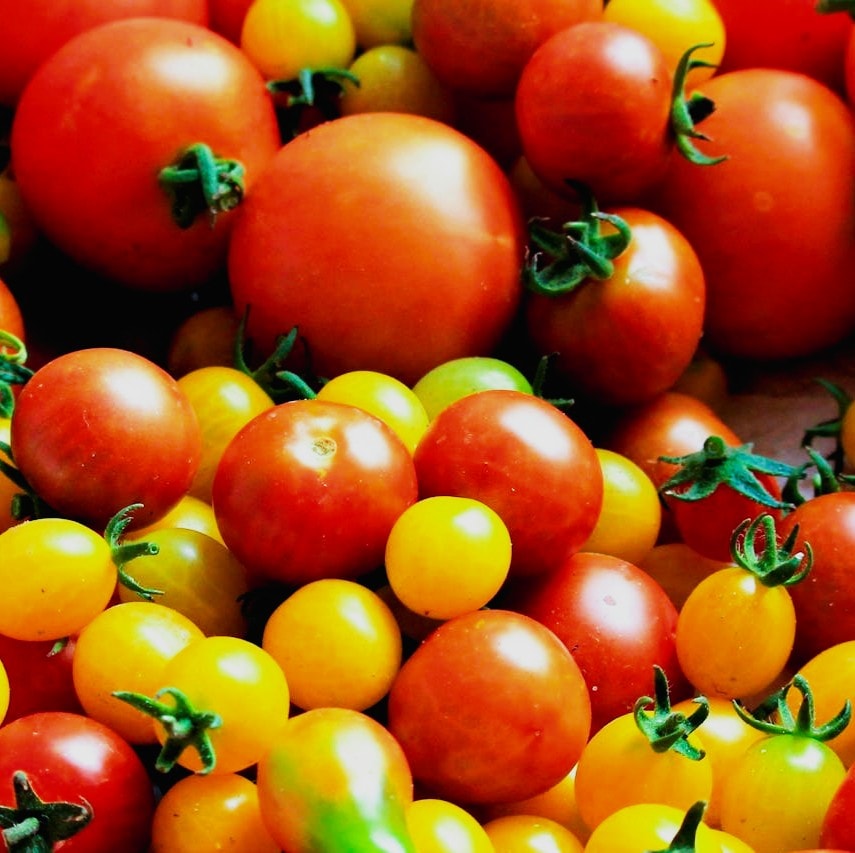
Tomatoes
Tomatoes are the most commonly grown vegetable in the United States. There are hundreds of varieties. Although you may be interested in heirloom tomatoes, I recommend starting with a disease-resistant hybrid if you are a beginner gardener. There are many choices of size, from cherry tomatoes to big beefsteaks. Tomatoes will begin ripening 60 to 85 days after you set out the transplant. The larger the tomatoes, the longer it takes them to ripen.
Tomatoes are most often planted from transplants, or young plants started indoors or a greenhouse. You can start planting seeds in pots 6 weeks before the last frost in your area and grow them in a bright window, or you can pick some up at your local garden center.
The plant should be well established before planting time, but it is best to plant them before they have flowers. When you plant it outside, it should put most of its energy into developing new roots. If there are flowers or fruit, the energy will be divided, and your root system will not develop as well. This may cause the plant to be weaker when the heat of summer hits. Tomatoes need deep, fertile soil, at least 2 feet deep, preferably 4 feet deep, and full sun.
Tomatoes can be either determinant or indeterminant. Determinant tomatoes grow to a specific size and then stop growing, while indeterminant tomatoes keep growing and growing. Determinant tomatoes can be grown in containers, while indeterminant tomatoes are best grown in the soil and will need support. If they are allowed to sprawl on the ground, the fruit is likely to rot, and it can spread disease. The vine can be tied to a support or surrounded by a tomato cage. Ensure you can reach through or around whatever support you provide to harvest the tomatoes.
As tomatoes grow, new branches sprout from the junction of the leaf and stem. These are called suckers. The spread of the tomato plant can be controlled by pinching these branches out when they are small. It is not essential, but an indeterminate tomato plant can become extremely large, and it won't be easy to find the fruit if you let all the branches grow. If you pinch all of the branches out, the plant will be a single stem with fruit along it. I prefer to prune some but not all of the little branches out. Start pruning growth when you have flowers. That way you will recognize which are flower stalks which will produce fruit and which are leafy suckers.
Ripe tomatoes can easily be pulled off the vine. One of the easiest ways to determine if tomatoes are ripe is by their color. It should be the color of the picture on the seed packet or the tag on the transplant. It will also be soft and shiny.
Ripe tomatoes will last longer if stored at a temperature above 50 degrees. Refrigerators should be set at around 40 degrees, so tomatoes will last longer on the counter than in the fridge unless the temperature in the house is very warm.
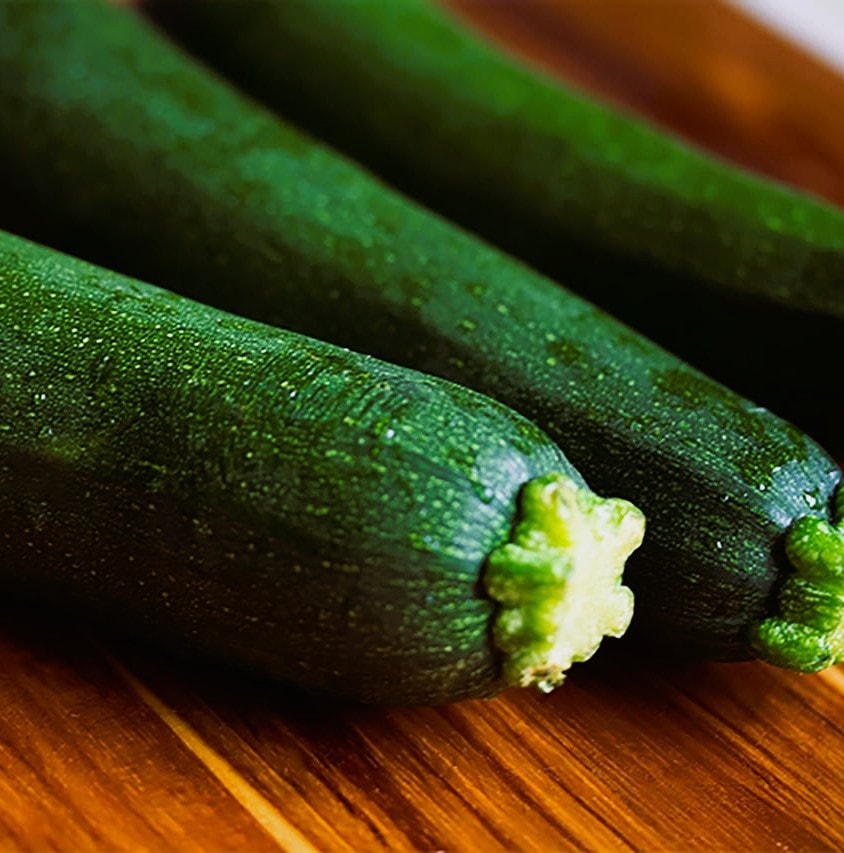
Zucchini
Zucchini plants are probably the most prolific plants you will grow. Even one or two plants will give you a bountiful harvest. Although I have seen them sold as transplants in garden centers, zucchini plants don't transplant well. If your soil warms slowly and you want to buy transplants, be careful not to disturb the roots when planting seedlings.
Plant seeds in a group of three in loose, fertile soil. The seeds don't germinate until the soil is 70 degrees Fahrenheit. This happens in mid-spring where I live, but not until summer in some places. hey will germinate in one to two weeks, and you can thin them to one plant per hill if they all come up.
Zuchini, like other members of the cucurbit family, has male and female flowers. The male flowers have pollen, and the female flowers have a tiny zucchini at their base. They need pollinators to carry the pollen from one flower to another. Honey bees, bumble bees, and solitary bees all pollinate zucchini. Once the female flower is pollenated, the flower will shrivel and fall off, and the zucchini will start growing. Zucchini generally starts with male flowers before it has female flowers, so the first few flowers will not produce zucchini. (You can dip them in batter and fry them up for tempura, though.)
Start harvesting zucchini as soon as they are the size of a small cucumber. Harvest a few when they are small for salads and fresh use, let others get larger for zucchini bread, and find a stuffed zucchini recipe for the ones that get huge. Don't leave them on the vine too long, or they will get hard, and one end will be yellow and shriveled.
More Information
My goal is for everyone to be able to grow vegetables and produce at least some of their own food. Whether you grow in your yard or a community garden, and whether you are new gardeners or seasoned gardeners, I have many more suggestions to help you produce a steady harvest of vegetables.
Click here to subscribe to our newsletter.
Happy Gardening
Lynn
