Growing Greens Indoors
Growing Greens Indoors: Top Tips for Year-Round Harvests
Growing Greens Indoors
Growing Greens Indoors: Top Tips for Year-Round Harvests
Setting Up Your Indoor Salad Garden
Essential Supplies for Growing Greens Indoors
Choosing the Right Varieties of Greens
Optimal Growing Conditions for Indoor Greens
Step-by-Step Guide to Planting and Caring for Greens
Watering Techniques for Indoor Gardens
Want to enjoy fresh, homegrown greens year-round? This guide to growing microgreens covers all the essentials—from setting up your garden to harvesting your lush produce. Start your indoor gardening journey today.
Key Takeaways
Setting up an indoor salad garden requires basic supplies like seeds, soil, and proper containers, with a focus on drainage.
Proper lighting is important, and you may have to provide supplemental lighting if you don't have a sunny window, or during the winter.
Choosing the right varieties for microgreens and baby greens, allows for a diverse and continuous harvest while ensuring high nutritional value.
Adopting effective watering techniques and maintaining optimal growing conditions are essential for preventing diseases and promoting healthy plant growth indoors.
Setting Up Your Indoor Salad Garden
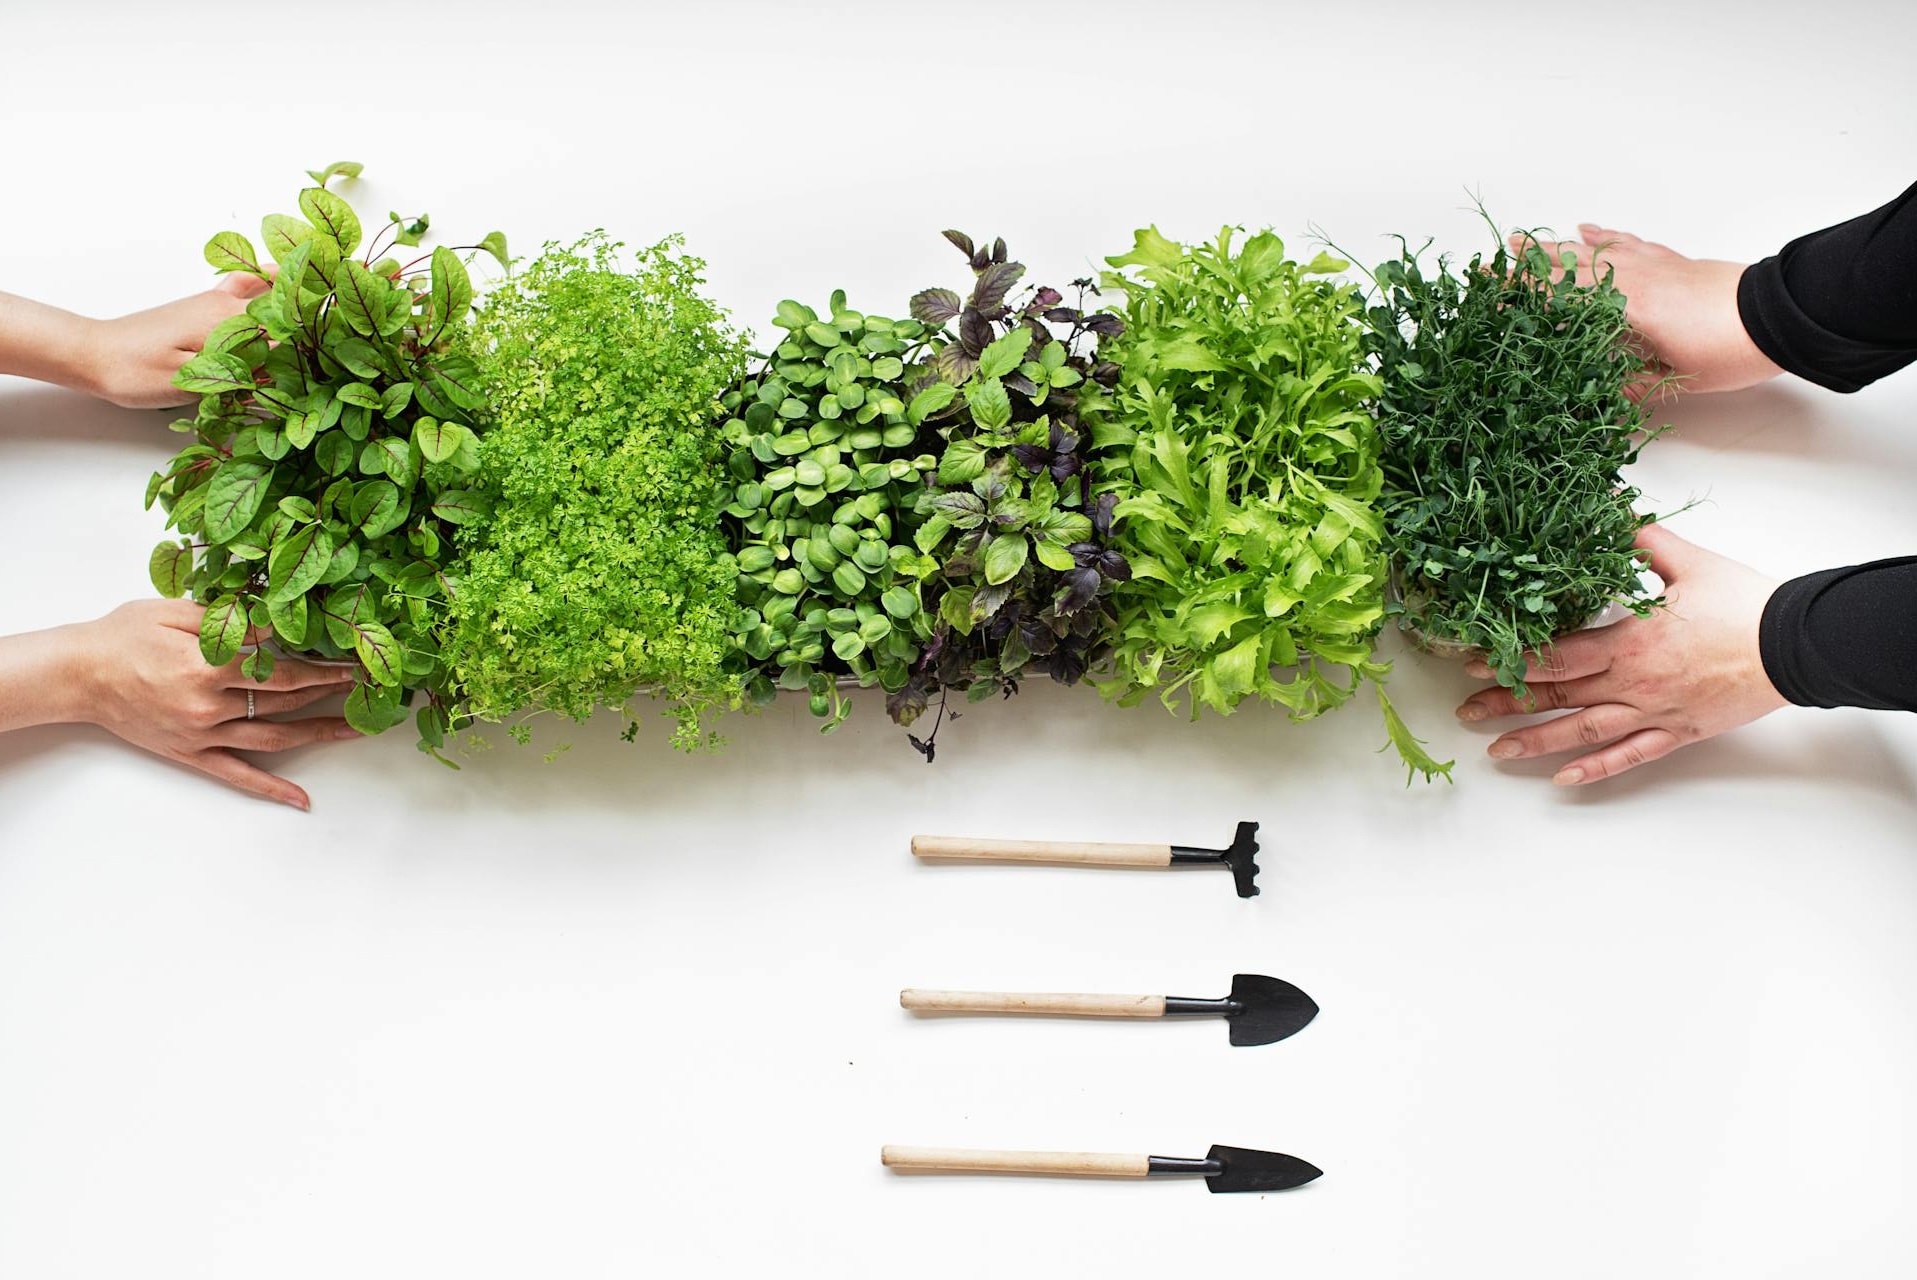
To set up your indoor salad garden, you’ll need a few basic items:
Seeds
Soil
Water
Planting containers
Trays
These essentials will lay the foundation for your green oasis.
Simple items like 3-by-6-inch aluminum pans or 8-inch bulb pans work wonderfully as containers. Ensure they have holes at the bottom for drainage and place them on a waterproof pan or saucer to catch excess water.
Place your garden by a sunny window. If natural light is scarce, especially during winter, use grow lights. Your plants grow need about 10 hours of light daily to grow healthily year round.
Water your salad greens daily, keeping the soil consistently moist but not waterlogged. Soaking larger seeds overnight can kickstart the germination process.
Microgreens and baby greens offer different benefits. While microgreens are harvested when they have their first true leaves, baby greens are allowed to grow for about four weeks before harvesting. Baby greens have a slightly higher nutrient content, making them a great addition to your meals. Microgreens tend to have a stronger flavor.
With these basics in place, you’re well on your way to creating a thriving indoor salad garden. Next, let’s explore the essential supplies needed for growing microgreens.
Essential Supplies for Growing Greens Indoors
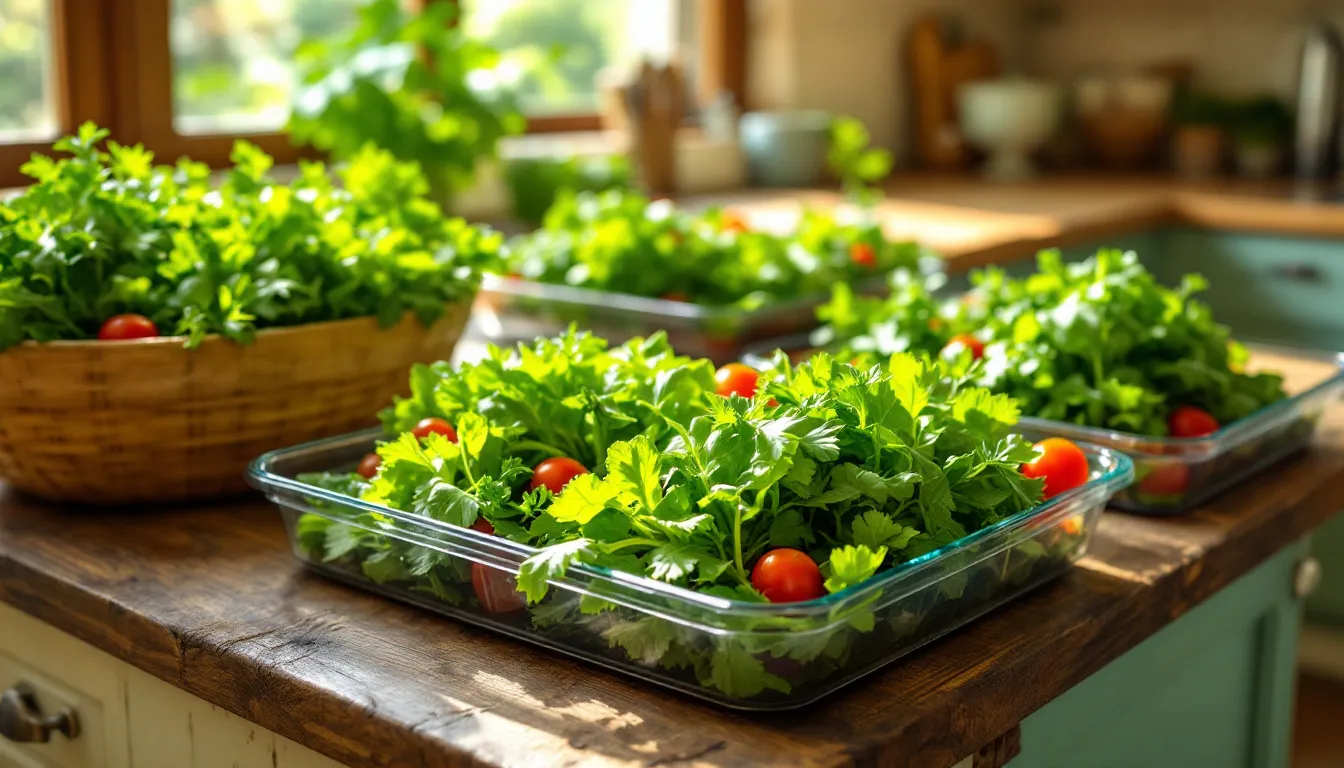
The right supplies are key to a successful indoor salad garden. Good quality seeds from reputable companies will produce high quality microgreens and are vital when growing microgreens.
Choose between peat-based seed starter mixes, coconut coir, or make your own potting soil mix using equal parts of sphagnum moss, vermiculite, and perlite. Wearing a mask and adding water while mixing minimizes dust inhalation. This medium provides the necessary nutrients and structure for your seeds to thrive.
Certain supplies can enhance your indoor gardening experience. Grow lights provide the needed light spectrum, especially during shorter winter days, and growing trays help manage your plants and keep your garden organized.
With these supplies, you’re well-equipped to start your indoor salad garden. Next, explore the various types of fresh salad greens you can grow for a diverse and nutritious harvest.
Choosing the Right Varieties of Greens
Choosing the right varieties of seeds to grow indoors is an exciting part of setting up your indoor garden. Common varieties like arugula, kale, spinach, and Swiss chard are easy to grow, have a short growth cycle and pack a punch in flavor and nutrition. Other microgreens grow more slowly. Radishes, common dandelion, broccoli Raab, pea shoots and red cabbage add flavor.
You can grow a wide range of vegetable and herb microgreens seeds, making them versatile for indoor gardening. Known for their concentrated vitamins and nutrients, they offer significant health benefits, with higher nutritional quality than their mature counterparts. Eating microgreens provides a fresh addition to any meal. The ways in which microgreens vary can enhance culinary creativity.
Consider the differences between microgreens, baby greens, and sprout varieties when choosing varieties. Microgreens are harvested when they develop their first true leaves, baby greens grow a bit longer, and sprouts are germinated seeds consumed raw, typically grown in water without soil.
Seed quality is paramount. Opt for high-quality seeds from reputable seed companies to ensure robust and healthy plants. Planting rapidly maturing greens and slower maturing greens in different containers can help you manage your garden more effectively.
Planting in staggered intervals ensures a continuous supply of salad greens, allowing you to enjoy fresh produce without gaps in your harvest. This method is particularly beneficial for maintaining a steady supply of microgreens and baby greens throughout the year.
With a variety of nutritious greens, your indoor garden will be diverse and provide a continuous supply of fresh produce.
Optimal Growing Conditions for Indoor Greens
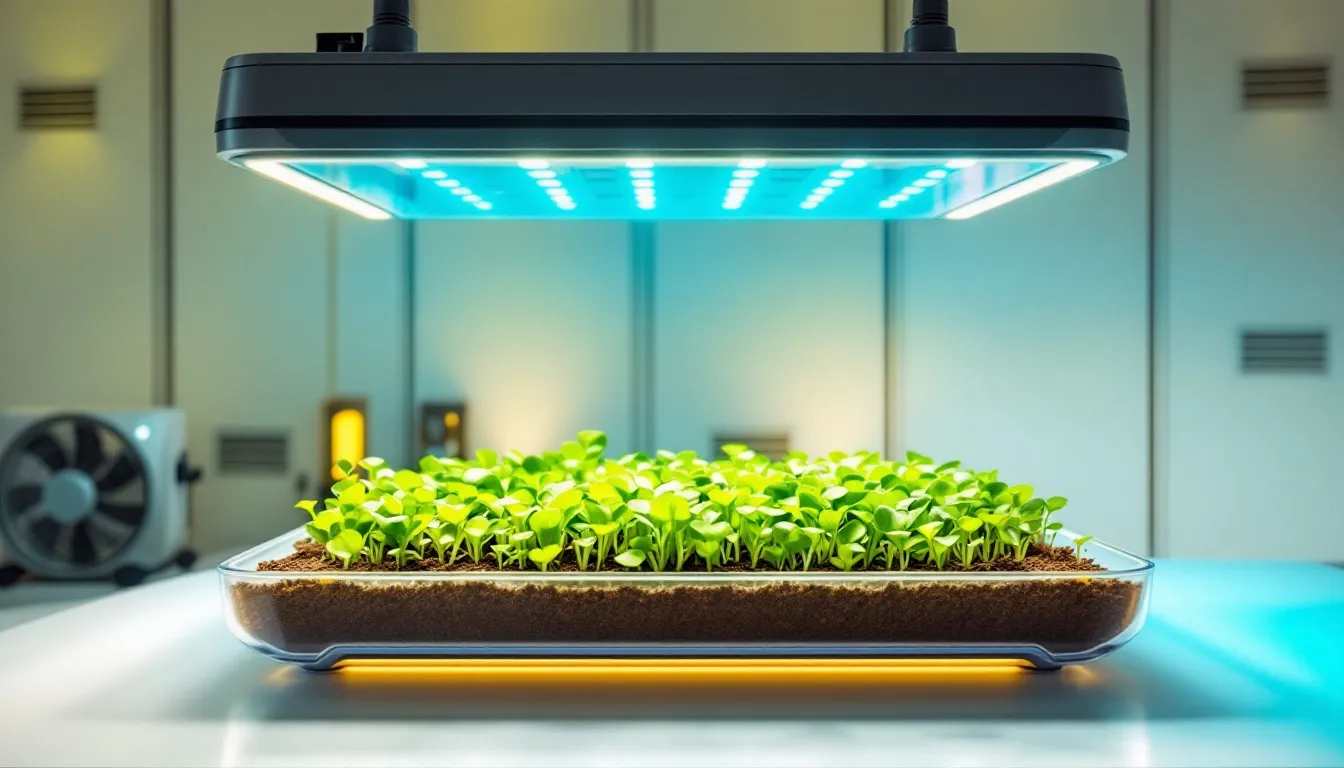
Ideal growing conditions are crucial for healthy, productive plants. Light is vital, with microgreens needing about 10 hours daily. During winter or in spaces with low light intensity, supplemental lighting might be necessary. LED lights with a balanced spectrum of red and blue can enhance growth and flavor.
Temperature and humidity significantly impact growth. Most microgreen species thrive at 65-75°F and 50-65% humidity to prevent mold. Proper ventilation, using oscillating fans, promotes strong plant stems and good air circulation.
The growing medium should retain moisture without becoming soggy, essential for microgreen growth. Baby greens need richer soil compared to microgreens. Compost tea can enrich the growing mediums for baby greens.
When your seeds are sprouting keep germinating seeds in a warm location to maintain consistent humidity and temperature. Once sprouted, water daily to ensure healthy growth. Bottom watering avoids getting water on the leaves, preventing mold and rot.
Keep the growing mat or mix moist but not waterlogged during germination. Proper hydration without over-watering maintains a healthy indoor garden.
With these optimal growing conditions, your indoor salad garden will thrive, providing a continuous supply of fresh greens. Next, here is a step-by-step guide to planting and caring for your greens.
Step-by-Step Guide to Planting and Caring for Greens
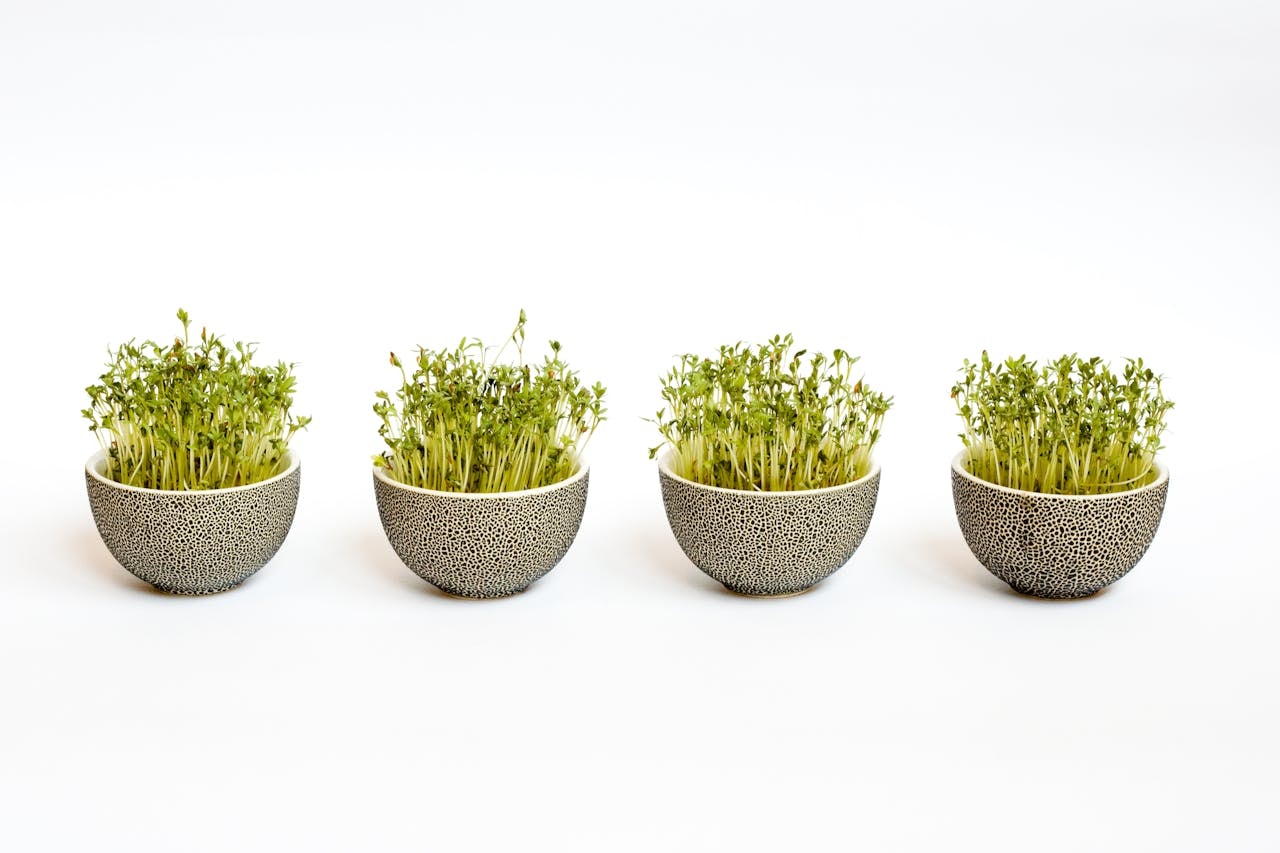
Planting and caring for your indoor greens requires a few critical steps for healthy growth and a bountiful harvest. Ensure each microgreen seed is in contact with the soil surface for optimal germination, allowing the seeds to absorb moisture and nutrients effectively. This may require putting some weight on lager seeds like fava bean and sunflower. You can use a tray with water or rocks in it on top of the seeds. Check for sprouts daily and remove the weight when the seeds have sprouted.
Lettuce seed requires light to sprout. Plant all your seeds other than lettuce and cover them with about a quarter inch of your potting media, then sprinkle the lettuce seeds sparingly on top.
Recycled food containers with drainage holes make effective planting trays for microgreens, helping reuse materials and keep gardening costs down. Place the containers on a waterproof tray to catch any excess water, preventing root rot. Fill them with moist soil or growth medium and sow seeds sparingly. The seed density should be 2to 4 seeds per square inch for large seeds and 10 to 15 seeds pre inch for small seeds.
Watering your plants daily doesn’t take much time. Bottom watering is effective for microgreens, avoiding excess moisture on the leaves. During germination, keep seeds moist by misting them regularly with a spray bottle.
Combat nutrient deficiencies by starting with a balanced seed starting mix and supplementing with organic fertilizer or compost tea. These nutrients are essential for healthy growth. Compost tea is a natural alternative to synthetic fertilizers, providing a nutrient boost.
Daily care includes monitoring moisture levels and ensuring plants receive adequate light. If using grow lights, provide 12-16 hours of light daily. Proper ventilation prevents mold and promotes strong plant stems.Following these steps ensures your indoor greens grow healthy and strong.
Watering Techniques for Indoor Gardens
Effective watering techniques are crucial for maintaining a healthy indoor garden. Bottom watering is particularly suitable for salad greens, as it avoids water on their leaves, preventing mold and rot. Place the growing tray in a shallow container of water, allowing the soil to absorb moisture from the bottom up.
Daily misting with a spray bottle keeps greens healthy, especially when humidity is low. This technique ensures seeds and young plants remain hydrated without becoming waterlogged. Keep the growing medium moist but not soggy to prevent root rot, and consider adding peat moss to improve moisture retention.
Watering during germination is crucial. Keeping seeds moist ensures proper germination and strong root development. Once sprouted, monitor moisture levels and adjust your watering routine as needed.
Using fresh water is essential for plant health. Avoid water containing chlorine or other chemicals that can harm delicate seedlings. If possible, use filtered or distilled water. If you must use tap water, let it sit in a pitcher or bottle for a few hours so the chlorine will evaporate.
For mature plants, maintain a consistent watering schedule. Over-watering can be as detrimental as under-watering, so find a balance that keeps the growing medium consistently moist for a mature plant.
Mastering these watering techniques ensures your indoor garden remains healthy and productive. Next, let’s discuss the best practices for harvesting your greens.
Harvesting Your Greens
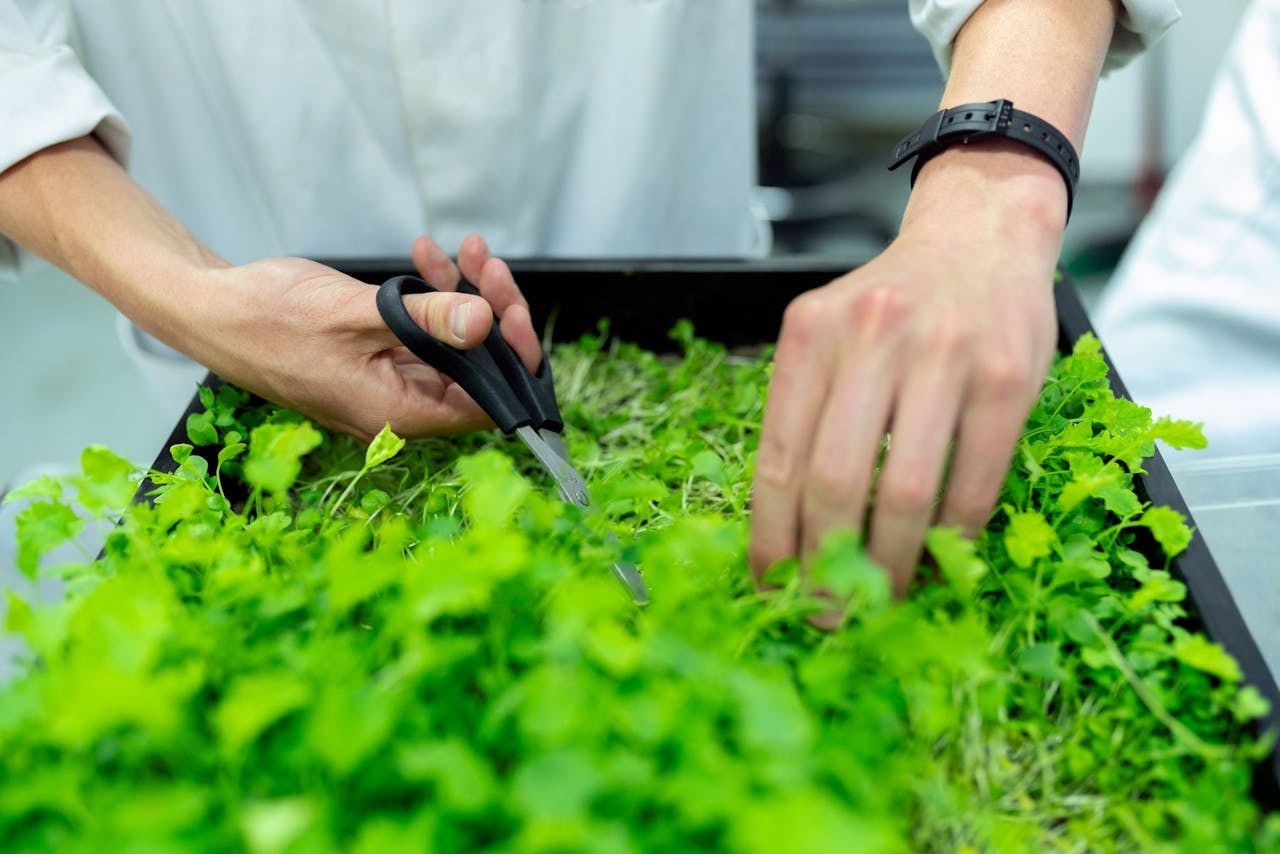
Harvesting your greens is an exciting part of indoor gardening, offering fresh, home-grown produce. Microgreens typically reach peak flavor and nutritional value at 8-21 days after planting, once they have developed true leaves it is a simple process to harvest them. Vibrant leaf color and full leaf expansion signal readiness for harvesting microgreens.
Use scissors or a sharp knife to cut microgreens just above the growing medium, minimizing root damage and contamination risk. Microgreens should generally be around 1-3 inches tall before harvesting, though this varies by variety. If you like, you can pull the entire plant and eat them roots and all.
After cutting, rinse microgreens under cool water to remove soil and debris. Properly drying them enhances shelf life and maintains quality. Store harvested greens in a sealed container in the refrigerator, where they can last up to a week.
Baby greens are harvested at 3 to 4 inches tall. The process is similar to microgreens, requiring careful cutting and cleaning. No special equipment is required, but you should cut them rather than pull them because the roots are more mature. Some microgreen species can be harvested multiple times if allowed to regrow to the true leaf stage.
Pick off any remaining seed hulls after harvesting to maintain the quality and presentation of your greens. Regular harvesting can be part of your daily routine, ensuring a continuous supply of fresh greens.
With these techniques, you’ll enjoy a steady supply of nutritious and flavorful greens. Next, we’ll address common issues that might arise while growing your indoor garden and how to troubleshoot them.
Troubleshooting Common Issues
Growing greens indoors comes with its share of challenges. Common issues include microbial contamination and pest attacks that can lead to crop failure. Implementing good sanitation practices, such as regularly cleaning your growing trays and tools, helps ensure food safety and prevent these problems while growing food.
Damping-off disease, caused by soilborne fungi, is a common issue that can lead to the death of seedlings shortly after they emerge. To prevent this, ensure proper air circulation and avoid over-watering. Using a well-draining growing medium also helps mitigate this issue.
Pythium root rot is another fungal disease that affects microgreens, particularly those in the Brassicaceae family. Maintaining proper watering techniques and avoiding waterlogged conditions can help prevent this disease. Selecting disease-resistant varieties is also a good strategy to manage pests and diseases.
Proper watering techniques are crucial in avoiding mold and rot. Bottom watering and maintaining appropriate humidity levels can prevent these issues. Regularly monitoring your greens for signs of disease or pest attacks allows for timely intervention.
For any issues that arise, quick action is essential. Removing affected plants and sterilizing the growing area can prevent the spread of diseases. Growing trays and equipment can be sterilized with a dilute chlorine bleach solution. Be sure the equipment is dry before using it. If you want to reuse your soil you can put it in an oven safe container, moisten it, set the oven to 200 degrees and bake it for 30 minutes. By being vigilant and maintaining a clean growing environment, you can ensure the health and productivity of your indoor garden.
With these troubleshooting tips, you’ll be well-prepared to address any challen ges that come your way.
Benefits of Growing Greens Indoors
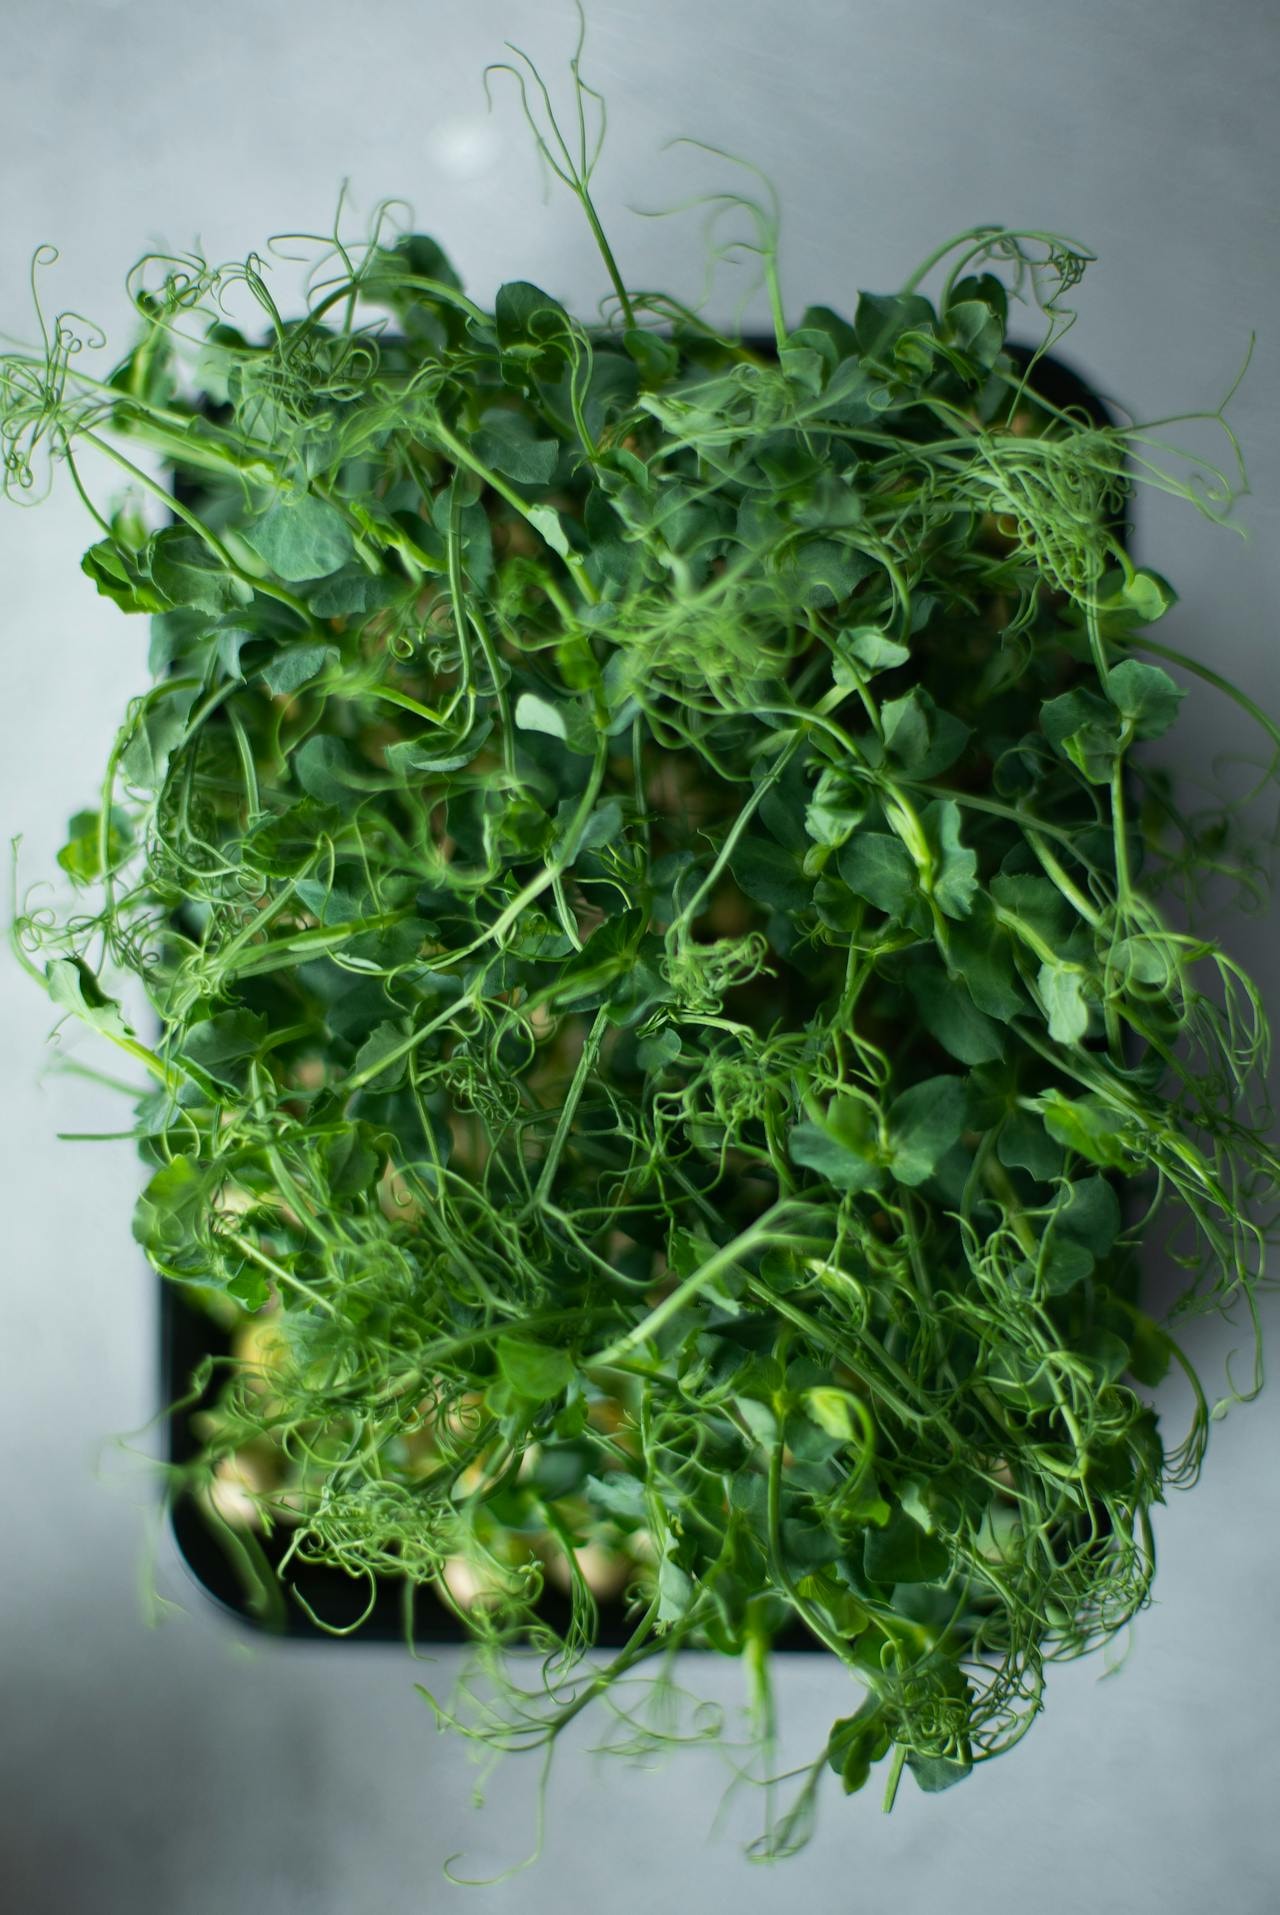
Growing greens indoors offers a host of benefits that go beyond just having fresh produce at your fingertips. Not only are baby greens generally richer in vitamins and minerals compared to their mature counterparts, but they also provide a continuous supply of essential nutrients like Vitamin C and antioxidants, which are crucial for overall health. Imagine the convenience of adding nutrient-dense, home-grown greens to your meals without stepping out of your home.
One of the significant advantages is cost-effectiveness. Growing your own microgreens at home is far more economical than purchasing them from grocery stores. This is particularly beneficial as microgreens can be quite costly due to their high nutrient content and short shelf life. By growing them yourself, you not only save money but also ensure the freshest possible greens for your consumption.
In addition to health and cost benefits, growing microgreens at home enhances the flavor and visual appeal of your dishes. These tiny greens pack a punch in terms of flavor and can transform a simple dish into a gourmet meal. Whether you’re adding broccoli microgreens to a salad or using them as a garnish, they bring a burst of freshness and nutrients to your plate.
With these compelling benefits, it’s clear why growing greens indoors is a worthwhile endeavor. Let’s now wrap up with a summary and some concluding thoughts.
Summary
Setting up an indoor salad garden is a rewarding and straightforward process that offers numerous benefits. From selecting the right supplies and choosing the best varieties to mastering optimal growing conditions and effective watering techniques, each step is crucial for a thriving indoor garden. By maintaining proper care and addressing any issues promptly, you can enjoy a continuous supply of fresh, nutritious greens year-round.
The health benefits of growing your own greens are significant. Microgreens and baby greens are packed with vitamins and antioxidants that contribute to better health and well-being. Additionally, the cost-effectiveness and convenience of having fresh produce at your fingertips make indoor gardening a practical choice for anyone looking to enhance their diet and lifestyle.
We hope this guide has provided you with the knowledge and inspiration to start your own indoor salad garden. With a bit of effort and care, you can transform a tiny space in your home into a lush, green oasis that provides fresh, home-grown greens for your meals. Here’s to a healthier, greener future!
Frequently Asked Questions
What are microgreens?
Microgreens are nutrient-dense, small greens that can be easily grown in limited spaces like a windowsill, making them a quick and accessible option for home gardening.
What basic items are needed to grow microgreens at home?
To successfully grow microgreens at home, you will need seeds, water, a growing medium, containers, a spray bottle, and scissors. These essentials will help you cultivate healthy and tasty microgreens efficiently.
How should microgreens be watered during germination?
Water microgreens during germination from the bottom to prevent contact with the greens and facilitate proper drainage. This method helps maintain optimal moisture levels for healthy growth.
When are microgreens typically ready to harvest?
Microgreens are typically ready to harvest within a few days to two weeks after germination, depending on the specific species and growing conditions. This quick turnaround makes them an excellent choice for fast-growing crops.
What should be done with the growing medium after harvesting microgreens if it is organic?
If the growing medium is organic, it should be composted after harvesting the microgreens to enrich the soil for future use or sterilized as described above if you plant to continue growing microgreens. This practice promotes sustainability and effectively reduces waste.
